Docker for Static Websites

No dogma, just what I'm learning and thinking about right now.
Comments and feedback are welcome on Mastodon.
"If you're thinking without writing, then you just think you're thinking."
—Leslie Lamport
This is the second in this series of articles:
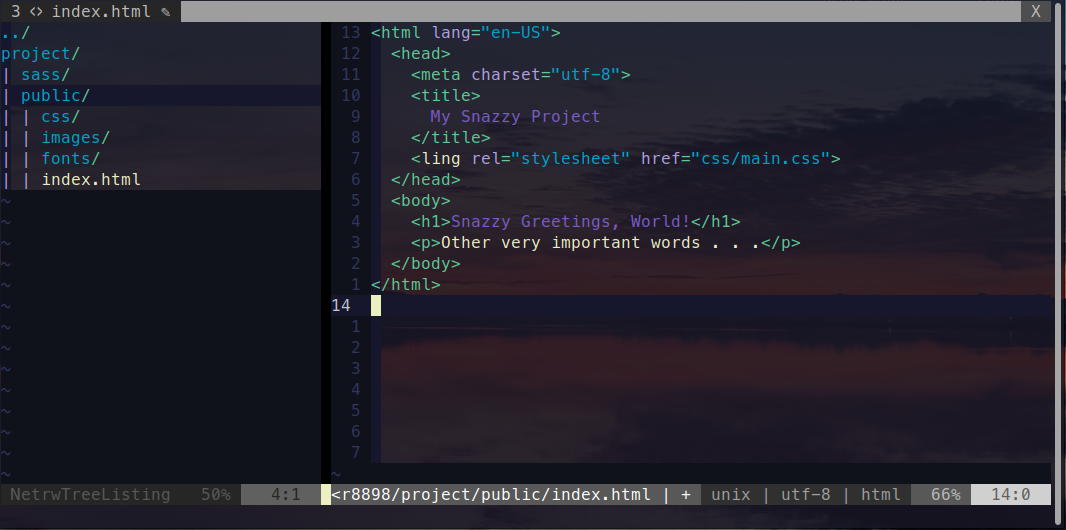
In the first article, I discussed creating a basic website using only HTML and CSS. In this article I would like to explore how to dockerize such a static website. To recap, our project has the following directory structure, with all of our content to be served located in the public directory.
project
├── public
│   ├── css
│   ├── fonts
│   └── images
└── sass
Since I build the CSS from SASS manually, there is no build process needed inside the docker container. This is refreshing. All we really need to do is select a pre-built image for static pages and point its output directory to our content. This means that we technically don’t even need a dockerfile, just a simple docker run command. A one-liner! Let’s look at the command and then discuss each option and what it does. Here is our one-line docker container for static webpages:
docker run -d -p 8000:8043 -v ./public:/srv/http --name snazzy-static-site pierrezemb/gostatic
docker run
docker run is the basic command to start a container based on the remaining options provided.
-d (detached)
The -d option tells docker to run the container in “detached” mode. This means the container is “daemonized” and will not lock the terminal session. However, the container will stop when you end the terminal session. To stop the container manually, use docker stop snazzy-static-site.
-p 8000:8043
The base image I chose serves content on port 8043 by default. The -p option allows us to change this to whatever port we want. In this case, I chose port 8000 to be consistent with my existing workflows.
-v ./public:/srv/http
This option creates a “volume” or shared file system between our host machine and the container. In this case, we want the contents of our ./public directory to be mirrored to the /srv/http directory inside the container, which is the directory this image uses to serve content. Note that current versions of the docker cli allow us to specify ./public using a relative file path. Older versions of docker require a fully qualified path name for the source directory. Finally, since this option creates a shared volume, changes we make in public will automatically be copied into the container. We can see our changes by refreshing our browser.
--name snazzy-static-site
The --name option allows us to specify a name for our container, in this case “snazzy-static-site.” This is useful for monitoring our container while it’s running (especially when you have more than one container running) and for use in other docker commands, like docker inspect snazzy-static-site or docker stop snazzy-static-site.
pierrezemb/gostatic
Finally, we have the name of our base image, pierrezemb/gostatic. This is just a super-small static page server built with Go. You can read about it here.
And that’s it! We dockerized a static site in one line of code! In the next article, we will look at how easy it is to deploy our static site to fly.io–for free!