Deploy a Static Website to Fly.io

No dogma, just what I'm learning and thinking about right now.
Comments and feedback are welcome on Mastodon.
"If you're thinking without writing, then you just think you're thinking."
—Leslie Lamport
This is the third in this series of articles:
Deploying side projects for free is not as easy as it used to be since Heroku eliminated its free tier. Luckily, other players–such as Fly.io–have stepped in to fill the gap. Fly.io makes it easy and cheap (free to start) to deploy projects, whether for learning, prototyping, or just portfolio building–and it works great for the jamstack and other static websites like ours.
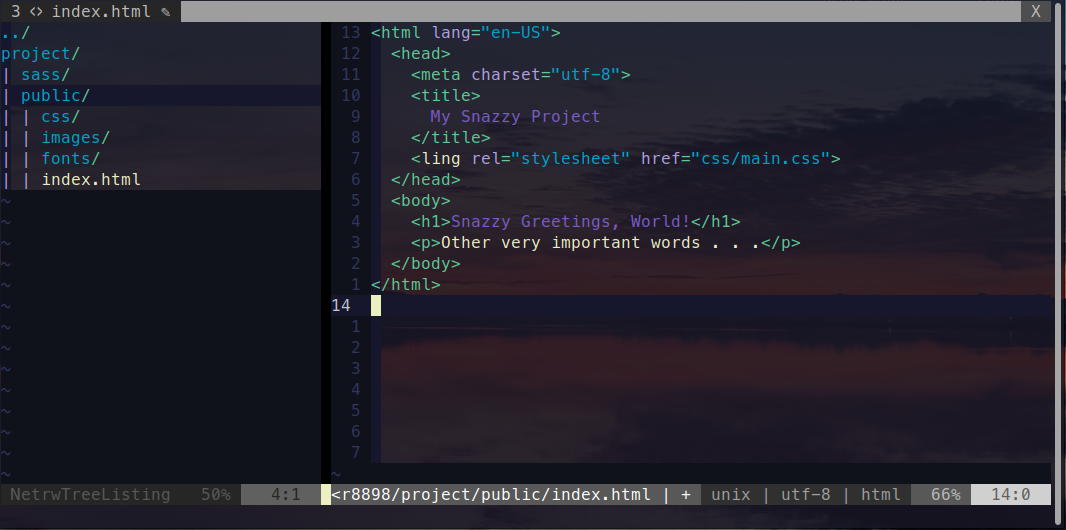
The project we’re deploying now is the one we created in the first article of this series, Simple Workflow for Basic HTML & CSS Website. You will recall that this project has the following folder structure:
project
├── public
│   ├── css
│   ├── fonts
│   ├── images
│   └── index.html
└── sass
Getting Started
First we will need to download the Fly.io command-line utility, flyctl. I found it here and followed the instructions to install it to my linux system. Next you will need to sign up with Fly.io and/or login to your Fly.io account. You can do this in your browser, or with flyctl using the fly auth signup and fly auth login commands. Finally, you will need to provide a credit card on your Fly.io account. This is a requirement of Fly, but we should not incur any charges as long as we remain within the usage limits of the Hobby Plan.
Using flyctl
Interestingly, flyctl can automatically detect and configure many kinds of app in many languages, including Rails apps and generic puma/rack Ruby apps. However, in our case it needs a little help to understand how to deploy our static website. We will do this by providing a dockerfile for Fly to use. This is interesting because Fly does not actually use containers to deploy. Instead, Fly deploys light-weight virtual machines. The dockerfile we provide allows Fly to leverage the Open Container Initiative standards followed by docker to configure and create their virtual machines.
Our Dockerfile
If you read the second article in this series, you will not be surprised to see that our dockerfile is a pithy two lines of configuration:
FROM pierrezemb/gostatic
COPY ./public/ /srv/http/
The first line selects our base image. In this case, a super-lightweight static-page server written in Go. The second line copies the content we need to be served (everything in our public directory) into the image at the location the http server expects to find it.
fly launch
Now that our dockerfile is in place, we are ready to run fly launch. This command, run from our project’s root directory, will parse our dockerfile and create a fly.toml configuration file to spin up our virtual machine on Fly.io. When we run fly launch we will be prompted to do the following:
- Name our app. Only lower-case letters and hyphens are permitted.
- Select a region. Select the nearest datacenter as the location for our site to be served from.
- Setup a Postgres database. Answer No.
- Setup a Redis database. Answer No.
- Deploy? Answer No (we’re not quite ready yet).
Configure Ports
You will recall from the last article that our GoStatic image listens on port 8043 by default. In the last article, we handled this from the command-line by by using docker run with the option -p 8000:8043 to map 8043 to 8000. Unfortunately, we can’t use a dockerfile to map ports, since that would present a major security hole. Instead, we will edit our fly.toml file. To make it work, edit the internal_port line in the services section of your fly.toml file to map to 8043. It will look something like this:
[[services]]
  http_checks = []
  internal_port = 8043
  processes = ["app"]
  protocol = "tcp"
  script_checks = []
Deploy!
We can now deploy our site using fly deploy (still from the project root). If everything goes well, you should see something like this:
==> Monitoring deployment

 1 desired, 1 placed, 1 healthy, 0 unhealthy [health checks: 1 total, 1 passing]
--> v0 deployed successfully
You can open your running site in the browser using the fly open command from your terminal.
Profit!
And that is it! Thank you for reading. Please feel free to provide comments or feedback on Mastodon.