A Beginner's Guide to chruby

No dogma, just what I'm learning and thinking about right now.
Comments and feedback are welcome on Mastodon.
"If you're thinking without writing, then you just think you're thinking."
—Leslie Lamport
I recently had to set up a new system for development. As part of the process, I normally install a “Ruby manager” to help me switch between different Ruby versions and Gems in my various projects. In the past I used Rbenv, mostly because that’s what I was taught. In this case I thought, “new machine, new me!” and decided to see what other solutions were out there.
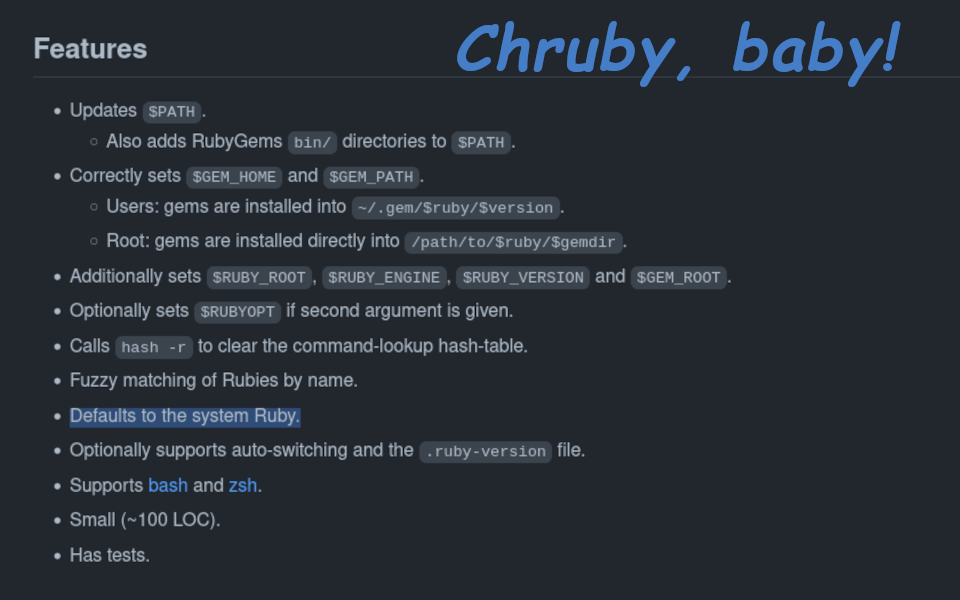
Chruby, written by postmodern immediately caught my eye. I liked it because it’s very Unix-y: it does one simple task, and it does it very well. I installed chruby on my Ubuntu linux system following the instructions on the chruby Github page. For me this was:
wget https://github.com/postmodern/chruby/releases/download/v0.3.9/chruby-0.3.9.tar.gz
tar -xzvf chruby-0.3.9.tar.gz
cd chruby-0.3.9/
sudo make install
Then . . .
sudo ./scripts/setup.sh
You can delete the downloaded and unpacked files after installing. The chruby scripts themselves will have installed to the appropriate system directories. For me this is /usr/local/share/chruby/.
Chruby is built on shell scripts: chruby.sh, for manually setting Ruby versions; and auto.sh, to look for .ruby-version files automatically when you cd around your system. To configure these scripts, I added the following to my .zshrc file. You can do the same in your .bashrc, if that’s your flavor.
source /usr/local/share/chruby/chruby.sh
source /usr/local/share/chruby/auto.sh
I then installed ruby-install, also written by postmodern, to manage the actual installation of Ruby versions.
Usage
Chruby really only does two jobs, so usage is super simple. To list your installed rubies, just type chruby at the command line.
❯ chruby
   ruby-2.7.6
   ruby-3.0.4
 * ruby-3.1.2
The current Ruby is indicated by the asterisk (*). Chruby uses the system Ruby as the default, so if you don’t see an asterisk, you can check the current Ruby version your system is using with ruby -v. For me this returns the following:
❯ ruby -v
ruby 3.0.2p107 (2021-07-07 revision 0db68f0233) [x86_64-linux-gnu]
You will notice that this Ruby version was not even listed after our chruby command. This is because ruby-install and chruby keep your project rubies separate from the system. This is a feature, not a bug! The system should be able to use the Ruby it expects for system tasks, while you need the flexibility to select whatever Ruby you need for your projects. Chruby only shows the user-installed rubies. Separate is good.
To change your current Ruby version, use:
chruby X.Y.Z
Where X.Y.Z is the version of Ruby you want to use. Chruby uses a “fuzzy search” to identify the Ruby you specify. If needed, you can specify the full name as shown in the result from the chruby command above, but this is usually not necessary. To change back to the system Ruby, just use:
chruby system
Finally, if you are using auto.sh, chruby will look for a .ruby-version file when you enter a directory and automatically switch to the specified Ruby version. Note that this is the only scenario in which my command prompt shows me the current Ruby version. If there is no .ruby-version file, then my command prompt shows nothing, even if I have manually selected a Ruby with chruby.
Gotchas
You need to make sure your mental model is aligned with chruby’s design to avoid “gotchas.” The first gotcha is the default behavior of chruby discussed above: the default Ruby is the system Ruby. If this really bothers you, you can put a chruby command in your .bashrc/.zshrc to specify a different default (note, this command must come after you source chruby), or you can add a .ruby-version file in your home directory and let auto.sh pick it up every time you launch your shell, like so:
echo "X.Y.Z" > ~/.ruby-version
I don’t prefer this myself, since I find myself relying more on .ruby-version files to change rubies as I navigate between projects. Why use a default when it is likely to change anyway–just one more thing to maintain! Instead, always remember that the Ruby version isn’t set until you explicitly set it. I find that this is an infrequent requirement.
The next gotcha is really the result of the way Ruby Gems are installed on your computer: there is a different Gem cache for each version of Ruby used on your system. There really is no way around this, since different Gem versions may require or preclude certain Ruby versions. The thing to remember here is that you must gem install bundler for every version of Ruby you install on your system. No sense messing around with this, just do it right at the Ruby’s installation time:
ruby-install ruby-X.Y.Z
chruby X.Y.Z
gem install bundler
If you find yourself wrestling with missing Gems or weird Bundler errors for packages that you’re sure you installed, chances are it’s one or both of the above issues. The most common time for you to hit these errors is when creating a project. This is because you are probably using the system Ruby version (perhaps unintentionally), and you probably never installed the Gems you require for this Ruby version. My workflow to avoid this problem goes like this:
- Always
gem install bundlerimmediately after installing a new Ruby (see above). - When creating a new project, I navigate to the intended parent directory, and then
chruby X.Y.Zto the Ruby version the project will use. - I then
hanami new awesome-project. - Finally, I
cd awesome-projectandecho "X.Y.Z" > .ruby-versionto set the Ruby version for the project.
The final potential issue is managing the integration of Ruby-switching with other tools, like your code editor. The chruby Github page has links to instructions for managing integrations with a number of tools. As a Vim user, I always make sure to launch Vim from my project’s root directory, where it will pick up my .ruby-version automatically from the environment. More might be required if I ever try to edit files from different projects from the same Vim session (not typical for me). Instructions for dealing with that are here.
And that’s it! Happy Ruby-ing!